This post explains how to park your domain name at GoDaddy.
A Parked Domain Name means that visitors see a temporary web page when
they enter your domain name in a web browser. You can park your domain
name to indicate you are reserving it until you create your website,
find a hosting provider, or sell the domain name to a third party.
STEP 1 :- Go to At the top of the screen enter your Username/Customer# and Password and click Log In.

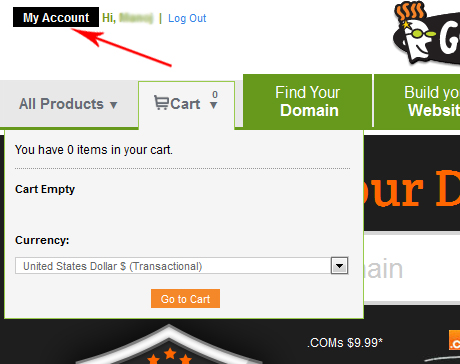
STEP 2 :- After logging in, click the My Account button on the top left.